Are you ready to breathe new life into your space with a fresh coat of paint? Before you pick up that paintbrush, it’s crucial to ensure your canvas is prepped and primed for the transformation. Proper preparation enhances the final result and prolongs the life of your paint job. This comprehensive guide will explore the best way to prep a space before painting, providing 13 essential steps to turn your room into a masterpiece.
Experience the transformation of your home into a visual delight with our professional house painting services. Where excellence in quality meets the vibrancy of color, choose New City House Painters
What is the Best Way to Prep a Space Before Painting?
Prepping a space before painting is an art in itself. It involves more than just protecting your furniture; it’s about creating the ideal surface for your paint to adhere to. Here’s a step-by-step breakdown of the best way to prep your space:
- Clear the Space: Remove furniture, decorations, and any items that could get in the way. The more open the space, the easier it will be to navigate and paint.
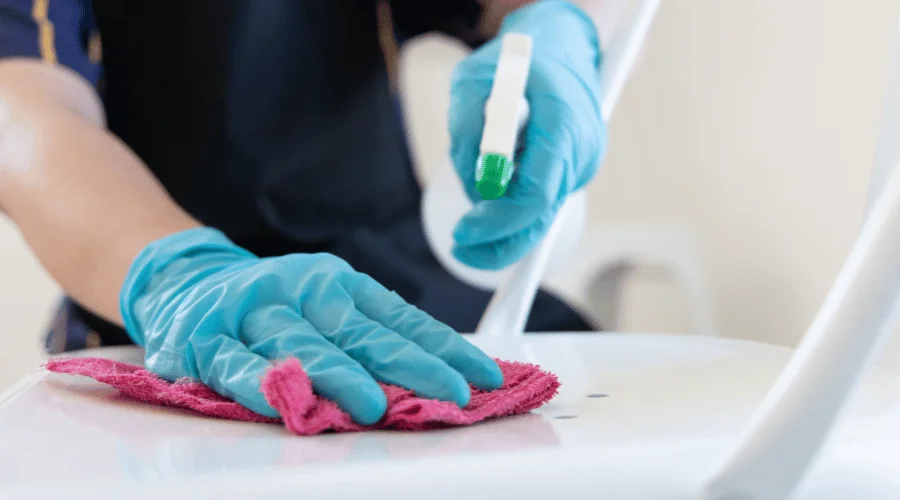
- Clean the Walls: Dust and grime can hinder paint adhesion. Clean your walls thoroughly with a mixture of mild soap and water. For stubborn stains, consider using a mild detergent.
- Repair Wall Imperfections: Patch up any holes, cracks, or imperfections with spackle or joint compound. Sand the repaired areas once dry to create a smooth surface.
- Protect Floors and Furniture: Cover floors with drop cloths or plastic sheets to prevent paint splatter. Use painter’s tape to protect baseboards, trim, and any areas you don’t want to paint.
- Prime the Walls: A primer creates a uniform surface, ensuring better paint adhesion and longevity. Choose a primer that suits your walls and the paint you’ll use.
- Select High-Quality Paint: Invest in high-quality paint for a more durable and long-lasting finish. Quality paint also tends to cover better, reducing the number of coats required.
How Long Does It Take to Prep a House for Painting?
The time required to prep a house for painting depends on various elements, such as the room’s dimensions, the state of the walls, and the extent of repairs needed. On average, prepping a standard-sized room may take anywhere from a day to a few days. Larger spaces or those requiring extensive repairs might take longer.
13 Guides to Prep a Space Before Painting
- Organize and Declutter: A clutter-free space makes the painting process smoother.
- Use High-Quality Tools: Invest in quality brushes, rollers, and painter’s tape for a professional finish.
- Choose the Right Paint: Consider the type of paint suitable for your space—latex for most walls, oil-based for high-moisture areas.
- Test Paint Colors: Before committing to a color, test a small area to ensure it complements your space.
- Remove Wall Outlets and Covers: This small step makes it easier to paint around edges and corners.
- Caulk Gaps and Cracks: Sealing gaps with caulk improves insulation and provides a seamless finish.
- Ventilate the Space: Ensure proper ventilation to speed up drying times and disperse fumes.
- Work from Top to Bottom: Start with the ceiling, then move on to walls and trim to catch any drips.
- Follow the Right Sequence: Paint trim before walls so that you can correct any drips or splatters on the walls during the trim painting.
- Allow for Proper Drying Time: Follow the recommended drying times between coats for a flawless finish.
- Consider the Weather: Ideal painting conditions include mild temperatures and low humidity.
- Clean Brushes and Rollers Properly: Extend the life of your tools by cleaning them thoroughly after each use.
- Inspect Your Work: Before declaring the project complete, inspect for any touch-ups or missed spots.
FAQs About Prepping a Space Before Painting
Q1: Can I skip priming my walls before painting?
A1: While it’s tempting, priming is essential. It improves paint adhesion coverage, and ensures a more even finish.
Q2: How long should I wait between coats of paint?
A2: Follow the manufacturer’s recommendations. In most cases, waiting 24 hours between coats is advisable.
Q3: Can I paint over the wallpaper?
A3: It’s generally not recommended, as paint may not adhere well. Remove the wallpaper for a smoother finish.
In the realm of painting, preparation is the key to success. By following these 13 essential steps, you’ll set the stage for a paint job that not only enhances the aesthetic appeal of your space but also stands the test of time. Remember, patience and attention to detail are your allies in creating a masterpiece that reflects your style and personality. So, prep your space carefully, and watch as it becomes a canvas for your creative vision. Happy painting!

