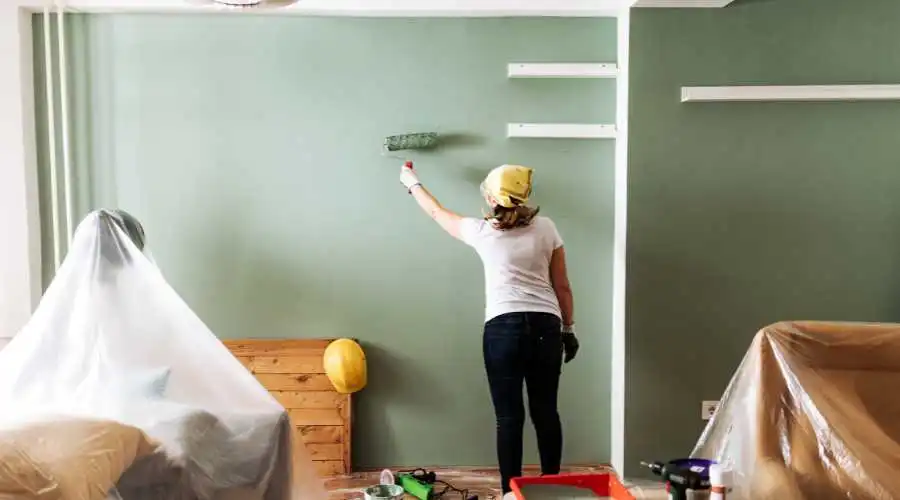
You’ve just finished painting your walls, and you’re admiring your handiwork, just like a painter admiring his masterpiece. But wait, what’s that? Bubbles in the paint? Paint bubbles are a common frustration for DIY enthusiasts. And yes, after taking on the hard work of painting your home, seeing paint bubbles is a total nightmare. Don’t fret; we at JC House Painting we’re here to help you understand why paint bubbles happen and how to prevent and fix them.
Why Does Paint Bubble?
Before we get into the solutions, let’s uncover why paint bubbles occur first. Usually, it’s due to moisture or heat, causing the paint to lift from the surface below. Here are some other reasons:
- Residue on the Wall: Paint struggles to stick to dirty, hot, or not completely dry surfaces. Keep an eye out for water damage, mold, and mildew.
- Damp Walls: High humidity or areas prone to dampness, like bathrooms or basements, make it hard for paint to stick.
- Air in the Paint: Air bubbles can be introduced while shaking the paint can or applying it too quickly, leading to blisters.
- Wrong Tools: Using the wrong brushes or rollers on textured surfaces or applying oil-based paint over latex can cause bubbling.
- Skipping Primer: Skipping primer can significantly increase the chances of bubbles forming as the paint dries.
How to Prevent Paint Bubbles
Preventing paint bubbles means addressing these issues before you start painting. Here’s a straightforward guide to preparing your walls for interior painting:
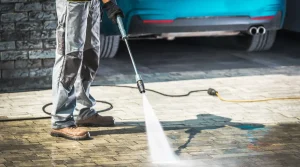
- Clean the Surface: For lightly soiled walls, use a damp towel or sponge with warm water. If needed, add a bit of soap for extra cleaning power, but ensure you wipe off any soapy residue.
- Ensure Dryness: Before you start painting, make sure your walls are completely dry. Improve airflow by opening windows and doors, or use a dehumidifier and fans if needed.
- Consider the Weather: Pick days that aren’t too hot or humid for painting to ensure even drying. Maintain a comfortable indoor temperature and consider using a dehumidifier.
- Avoid Rushing: Take your time while painting; avoid applying paint too quickly, as this can introduce air. If necessary, call in the professionals for assistance or ensure each coat is fully dry before applying the next.
- Mind the Paint Type: Be cautious when switching between latex and oil-based paint. Prime over old paint or use the same type that’s already on the wall.
- Prioritize Primer: Don’t skip the primer step; it’s crucial for achieving an even and long-lasting paint job.
How to Repair Blistered Paint
Fixing paint bubbles isn’t always a straightforward process. It can be time-consuming, and sometimes, professional assistance is required. Here’s a glimpse into the steps involved:
- Identify the Affected Area: Locate the areas with paint bubbles, and mark them for repair.
- Prepare the Surface: Carefully scrape off the bubbled paint with a putty knife or scraper. Sand the area gently to create a smooth surface.
- Prime Again: Apply a layer of primer to the repaired section. This helps create a proper base for the new paint and ensures a uniform finish.
- Repaint: Once the primer is dry, repaint the area using the same type of paint as the rest of the wall. Make sure to feather the edges to blend it seamlessly.
- Inspect the Finish: After the paint dries, inspect the repaired area to ensure it matches the surrounding surface.
- Call the Pros: If the damage is extensive or you’re unsure about tackling it yourself, consider hiring professional house painters to handle the repair.
Paint bubbling on your walls can be frustrating, but with the right preventive measures and professional assistance if needed, you can achieve a flawless paint job. Don’t let paint bubbles dampen your decorating dreams. Ensuring your walls stay beautiful and bubble-free is essential for maintaining the value and aesthetics of your home. Remember, a well-painted home not only looks fantastic but also makes it an investment worth protecting.
