High ceilings can give any room a sense of grandeur and refinement when it comes to interior design. However, when the time comes to refresh the paint, the task can seem daunting. Fear not! In this guide, we’ll explore the best ways to tackle painting high ceilings, including how to navigate the unique challenge of stairwells. Whether you’re a seasoned DIY enthusiast or a first-time painter, these tips will help you achieve a flawless finish in any room with soaring ceilings.
Reimagine your living spaces with our professional house painting services. Where quality meets a palette of colors, trust the expertise of New City House Painters.
1. Gather the Right Tools and Materials
Before starting your painting adventure, ensure you have all the necessary tools and materials. Invest in a sturdy extension ladder, high-quality paint brushes, rollers with extension poles, and drop cloths to protect your floors and furniture. Also, choose a premium quality paint that will adhere well to vertical surfaces and effectively cover any existing colors.
2. Safety First! Use the Right Ladder
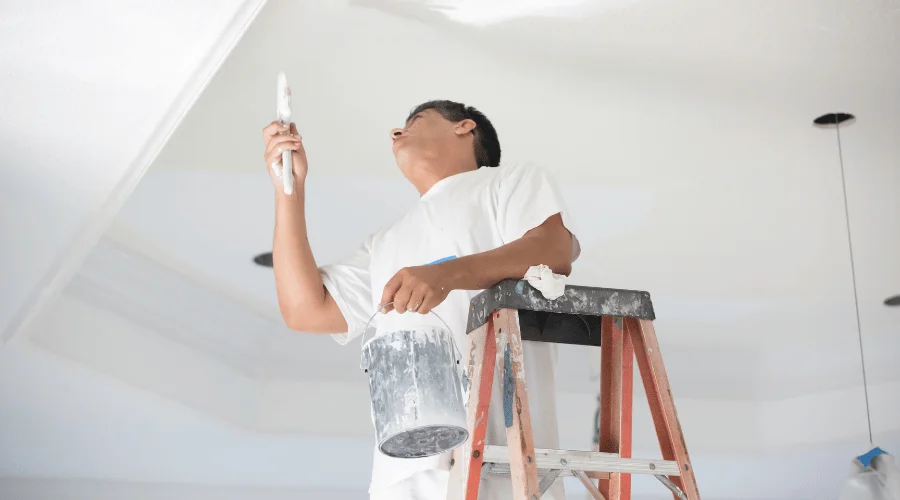
Safety is paramount when painting high ceilings. Opt for a stable extension ladder that reaches the height you need without compromising stability. If your ceiling is exceptionally high, consider using scaffolding for added safety and ease of movement.
3. Begin with Proper Surface Preparation
A successful paint job starts with thorough surface preparation. Clean the ceiling to remove dust and cobwebs, and patch any cracks or imperfections. Lightly sand the surface to get a smooth canvas for your paint.
4. Choose the Right Paint Finish
The sheen of your paint can impact the overall appearance of the room. For high ceilings, a flat or matte finish is often preferred as it helps to minimize imperfections and reduces glare. However, consider a satin finish for easier cleaning if durability is a concern.
5. Divide and Conquer – Tackling Stairwells
Painting a stairwell with high ceilings requires strategic planning. Start by painting the walls on the landing first, then move on to the lower section of the stairwell. Once that is complete, carefully move to the higher sections. Use a ladder with adjustable legs to navigate the stairs safely.
6. Invest in a Good Quality Paintbrush
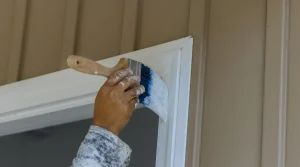
A high-quality paintbrush is your best friend for detailed work and hard-to-reach areas. Choose a brush with synthetic bristles for smooth application and easy cleaning. This is especially crucial when dealing with intricate details around crown molding or other architectural features.
7. Use an Extension Pole for Rollers
Save yourself from constant trips up and down the ladder by attaching an extension pole to your paint roller. This will allow you to cover large areas of the ceiling without having to reposition the ladder constantly.
8. Work in Sections
Divide the ceiling into manageable sections and focus on one area at a time. This approach ensures even coverage and helps you maintain a consistent paint edge. It also makes the task more manageable, especially when dealing with large, open spaces.
9. Optimize Lighting
Proper lighting is crucial when painting high ceilings. Use bright, natural light whenever possible, or supplement with additional lighting to ensure you can see any missed spots or uneven coverage. This becomes particularly important in stairwells where lighting can be challenging.
10. Take Breaks and Step Back
Painting high ceilings can be physically demanding, so remember to take breaks to rest your arms and back. Additionally, step back periodically to assess your progress and ensure even coverage. This step is essential for achieving a professional-looking finish.
Painting high ceilings may seem daunting, but it becomes a manageable and rewarding project armed with the right tools and techniques. From choosing the right paint to mastering the art of stairwell painting, these tips will empower you to transform any room with soaring ceilings. So, elevate your space confidently, and enjoy the stunning results of your high-reaching endeavors!


