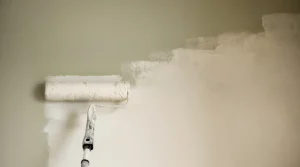
Whether it’s covering up small scratches, hiding imperfections, or refreshing the look of your walls, being proficient in touch-up painting can make a big difference in the end result. aesthetic of your space. In this comprehensive guide, we’ll take you through the essential steps and techniques to achieve professional-looking results every time you touch up paint.
Our professional house painting services redefine the beauty of your home. Quality craftsmanship merges seamlessly with a burst of color – trust New City House Painters for the perfect blend
Preparing the Area
Before you start the touch-up process, proper preparation is key to achieving a seamless finish. Here’s how to prep the area effectively:
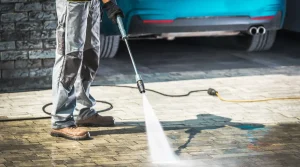
- Clean the Surface: Use a mild detergent and water solution to clean the surface you’re about to touch up. This guarantees that the paint sticks correctly and any dirt or grease is removed.
- Sand the Surface: Gently sand the area smooth up any rough spots with fine-grit sandpaper edges or uneven surfaces. This step helps the new paint blend seamlessly with the existing coat.
- Fill in Holes and Cracks: Use a quality spackle or putty to fill in any holes or cracks for deeper imperfections. Once filled, sand the patched areas for a smooth finish.
Applying Paint
Now that the surface is prepped, it’s time to apply the paint. Follow these steps for a flawless touch-up:
- Select the Right Paint: Ensure you have the exact paint color and finish used on the existing surface. This information can usually be found on the original paint can.
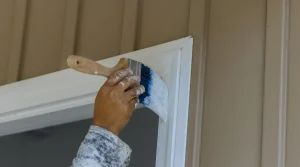
- Use Quality Brushes or Rollers: Invest in high-quality brushes or rollers to ensure even application. The appropriate instruments can significantly impact achieving a professional-looking finish.
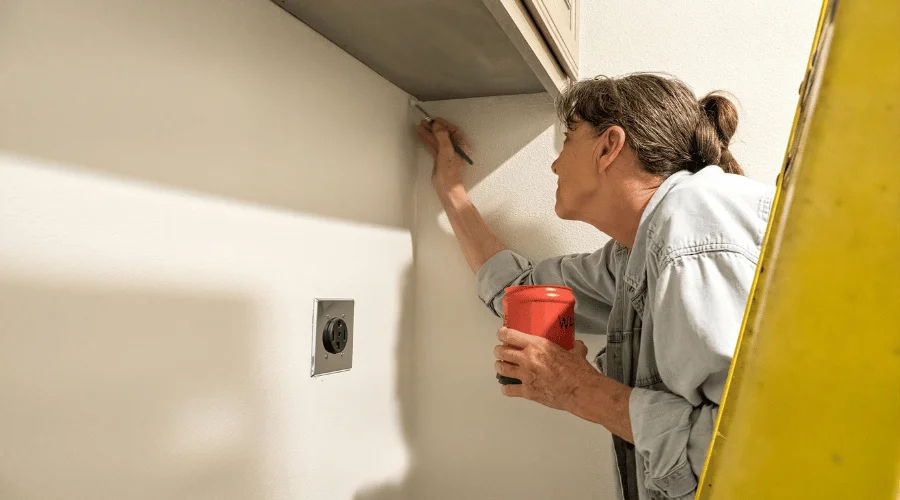
- Apply Thin Coats: Instead of trying to cover the imperfection in one go, apply thin coats of paint. This approach helps prevent drips and allows for better control over the final result.
- Feather the Edges: Blend the newly applied paint with the surrounding area by feathering the edges. This technique creates a gradual transition, making the touch-up less noticeable.
Preparing the Paint
Properly preparing the paint is crucial for a successful touch-up. Follow these steps to ensure your paint is ready for application:
- Stir the Paint Thoroughly: Even if the paint has been sitting for a short period, stir it well to ensure a consistent color and texture.
- Strain the Paint: Use a paint strainer to remove any impurities or dried bits from the paint. This step helps achieve a smoother application.
- Thin the Paint if Necessary: If the paint has thickened over time, consider adding a small amount of water or paint thinner to achieve the desired consistency.
Priming the Area
In some cases, priming the area is essential for optimal adhesion, especially when dealing with repairs or deeper imperfections. Here’s how to prime effectively:
- Choose the Right Primer: Select a primer that matches the type of paint you’re using. For example, use a latex primer if you’re working with latex paint.
- Apply a Thin Coat: Apply a small layer of primer to the touched-up area with a brush or roller. Please give it time to dry completely before proceeding to the next section.
Materials Needed
To touch up paint like a pro, gather the following materials:
- Paint in the Correct Color and Finish
- Quality Brushes or Rollers
- Mild Detergent d
- Fine-Grit Sandpaper
- Spackle or Putty f.
- Paint Stirrer
- Paint Strainer
- Paint Thinner (if necessary)
- Primer
- Drop Cloths or Plastic Sheeting
Mastering the art of touching up paint requires attention to detail, the right materials, and a systematic approach. By prepping the area, using the correct tools, preparing the paint, priming when necessary, and following these step-by-step guidelines, you can achieve professional-looking results that seamlessly blend with the existing paintwork. Don’t let small imperfections mar the beauty of your space—empower yourself with the knowledge and techniques to touch up paint like a pro. Your walls will thank you for it.